Connecting HubSpot and your rasa.io Account
Connect Your HubSpot and rasa.io accounts
Step 1: Who do you want to send to?
We know that you are using HubSpot for lots of different communications with your contacts, and you need to ensure that all of your readers have the necessary controls over which emails they receive from you. That’s why we prefer to use HubSpot’s Subscription Type functionality, enabling you to specifically manage the email preferences for your rasa.io Newsletter.
So your first step is to create a new Subscription Type in HubSpot, and subscribe all of your contacts to it! With this configuration, our rasa.io integration can also keep your HubSpot data updated with opt-outs and bounces, by unsubscribing your contacts.
If, however, you prefer to use a HubSpot List (static or dynamic) you can do that too! Build the list identifying your contacts.
Step 2: Connect us!
Once you have identified who you want to send to, you are ready to connect rasa with your HubSpot account.
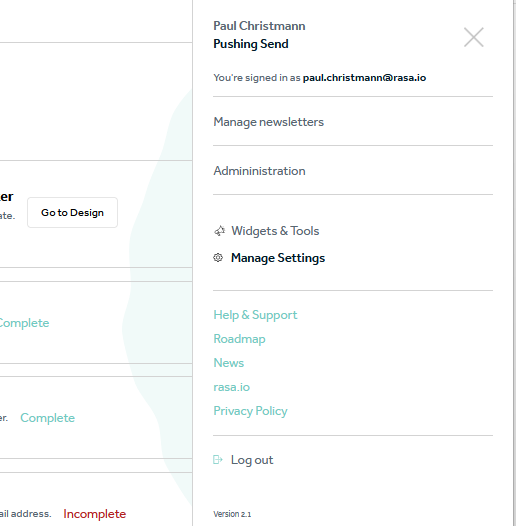
From the User Menu in the top Right, choose “Manage Settings”.
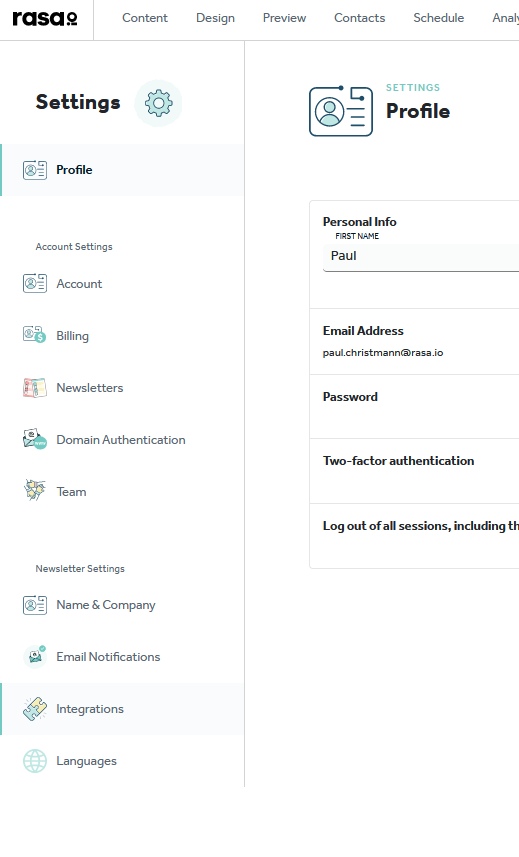
From the left side menu, under Newsletter Settings, choose “Integrations”:
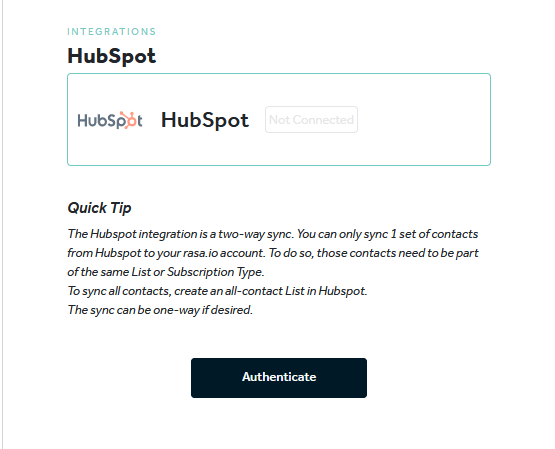
Locate and click on the HubSpot card:

Choose “Authenticate”:
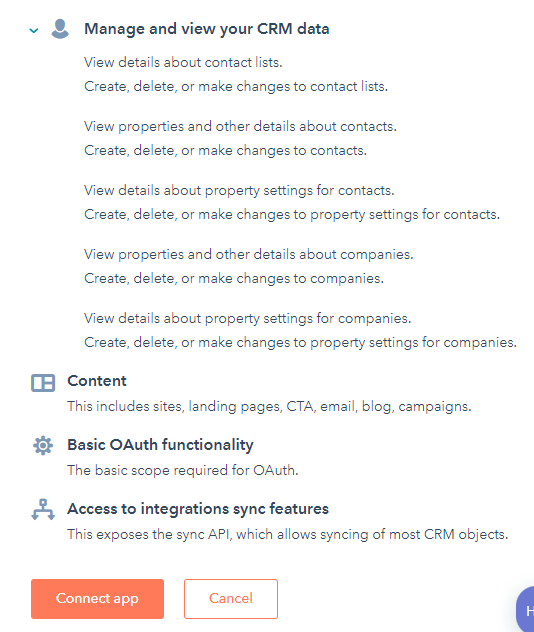
Authenticate yourself with HubSpot, Selecting your account, then approve the app:
Choose the Subscription Type (or List) from Step #1
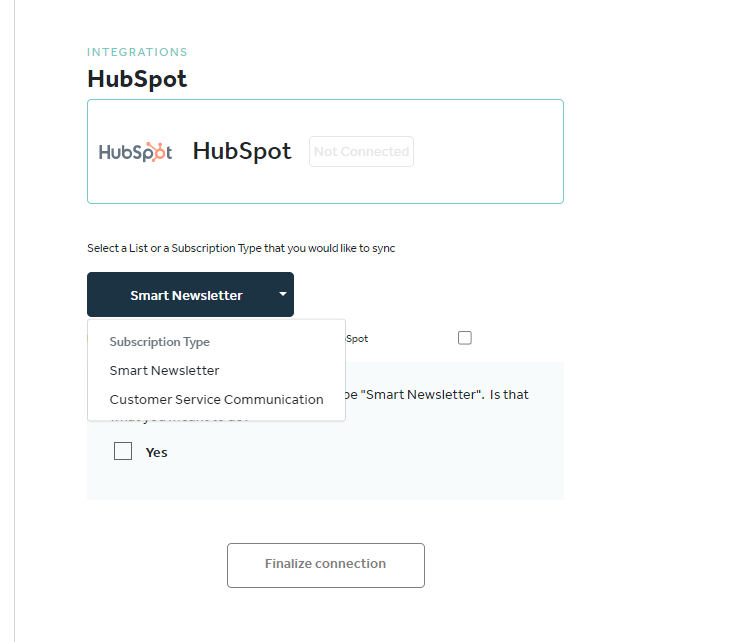
Check the “Confirmation Box” and then Finalize your connection
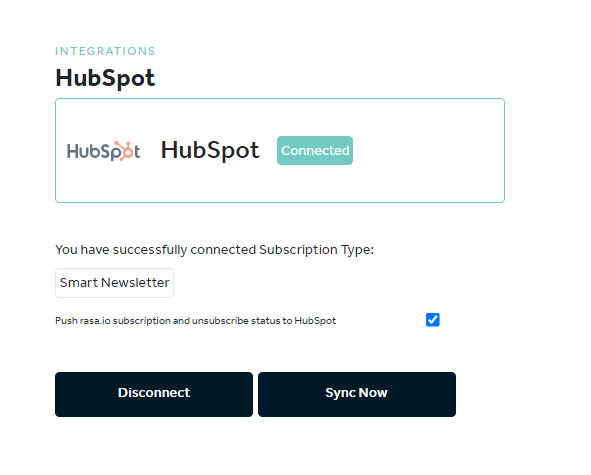
Contact synchronization happens on a scheduled basis within rasa. Use the “Sync Now” to launch the sync sooner, and get your contacts flowing into rasa.io
Step 3: Build and send your newsletter!
Use rasa.io tools to build your newsletter. Once you are sending it, all of the rasa Engagement data will begin flowing into your HubSpot environment!
Visit Our App in the HubSpot Marketplace!
Bringing rasa.io data into your HubSpot dashboard
You can now see your rasa.io newsletter data in your HubSpot dashboard.
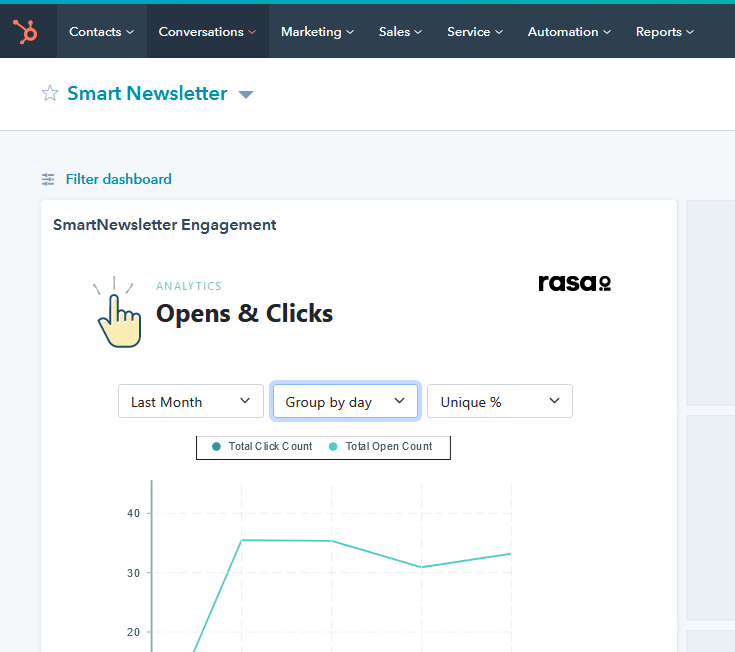
Step 1
Contact our support team and ask for unique HubSpot dashboard URL.
Step 2
Go to the HubSpot Reports menu and select Dashboards.
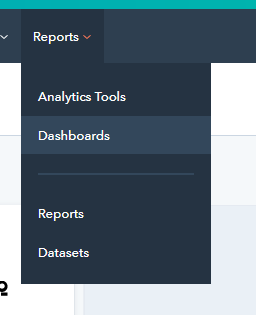
Step 3
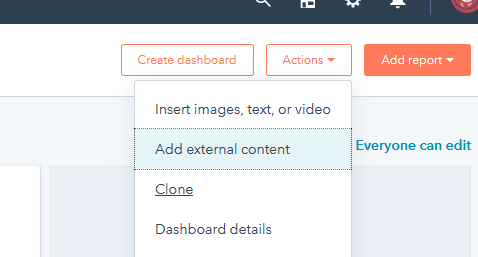
Under Actions, choose Add external content.
Step 4
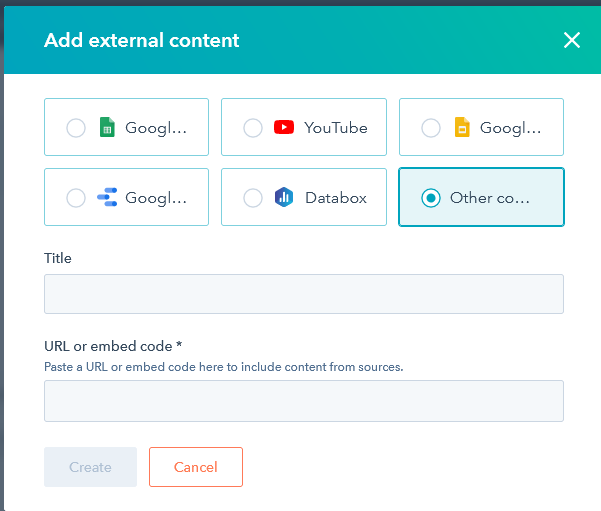
Choose “Other Content”:
Step 5
Contact our support team and we can provide you with your URL to embed code for your specific newsletter.
Step 6
Set up your rasa.io newsletter. Check out our help center to read more about setup:
- How rasa.io works
- General Questions
- Content
- Personalizing Content
- Design
- Analytics
- Schedule
- Contacts and Subscribers
